Auction
Introduction
Auction is one of the methods of listing the NFTs for sell in the secondary market in addition to fixed price. In auction the seller provides a minimum price, and a time period and buyers can place bids on how much they are intent in paying for the NFT as long as they are above the minimum price. Once an auction is created, multiple bidders can bid for it, and the seller would accept the bid of their choice.
Prerequisites to create an auction
- The admin must make the following changes to the design console:
- Navigate to Editor -> Roles -> NFT User -> Pages -> My NFTs (For NFT User) -> Context Operations and ensure Sell Token is enabled.
- Navigate to Editor -> Publish -> Advanced -> Auction Settings. By default, the Bid Increment (In %) is set to 5 and Bid tail expiration (In Days) is set to 3. These values can be changed based on the requirement.
- The drop admin must mint an NFT with the collections and list the NFT for selling.
- Auction can take place only after the first purchase of the NFT from the Xooa platform and the purchased NFT must be available in the public chain.
- Auction works only with crypto enable applications.
- The Buyer requires sufficient WETH to place a bid.
Create an auction
The seller must follow the below steps to create an auction:
-
Click My NFTs from the menu.
-
Click More and select Sell Token from the list of NFTs that the user would like to sell in an auction.
-
Select Auction from the Sell Token pop up window.

-
Provide a numerical value in the Minimum bidding amount field.
Note
- The user cannot provide a value less than 1 USD.
- The user is not allowed to provide fractional values.
- Click the
 symbol or the Auction End Time text box to provide the end date and time for the auction.
Note
- The auction end time must be at least one hour ahead of the time that the user is providing in the Auction End Time text box.
- The user cannot provide an auction expiry time more than 30 days from the current time.
-
Click List to initiate the auction process.
-
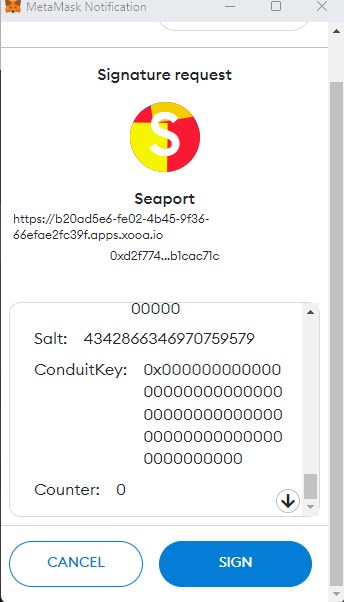
Click SIGN available in the MetaMask Notification pop up.
Note
Seaport is used as a signature request to authorize the wallet to take action for buying or selling NFTs.
- The user can view Auction created successfully for the token message once the auction is created.

Participate in a bid
The NFT user must follow the below steps to participate in a bid:
-
Navigate to secondary market of the application.
-
Click View Token from the available NFT collections.
-
Click View/Buy Token for the NFT that the user wants to bid.
Note
The user can view auction end date and time for the NFTs which are available for a bid.

-
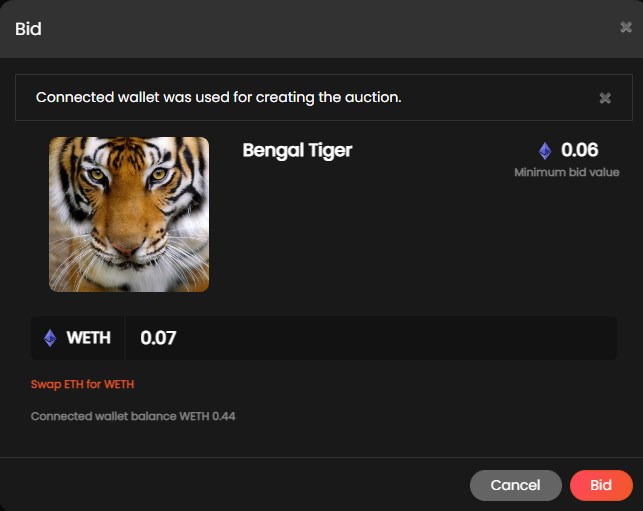
Click Bid, to bid for the NFT.
-
Provide a bid value in the WETH text box.
Note
- The bid value must be greater than the existing minimum bid value.
- Ensure the user maintains sufficient funds in WETH.
-
Click Bid to initiate the bidding process.
-
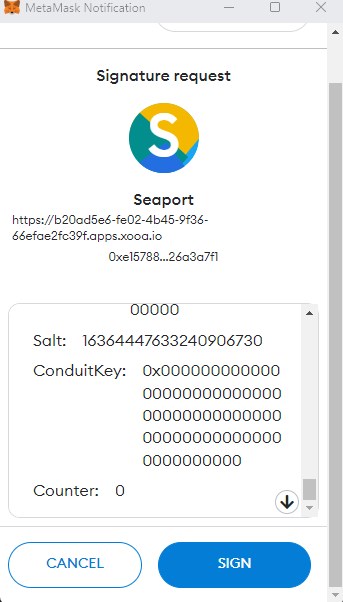
Click SIGN available in the MetaMask Notification pop up.
Note
Seaport is used as a signature request to authorize the wallet to take action for buying or selling NFTs.
- The user can view success message once the bid is created.

Note
- Each subsequent bid value must be more than the previous bid value. Also make sure that the subsequent bid value must not be less than the bid increment value (in %) provided in design console.
- Each bidder can bid multiple times for the same NFT.
Accept a bid
The seller must follow the below steps to accept a bid:
-
Click My NFTs from the menu.
-
Click View/Buy Token for the NFT that the user wants to accept the bid.
-
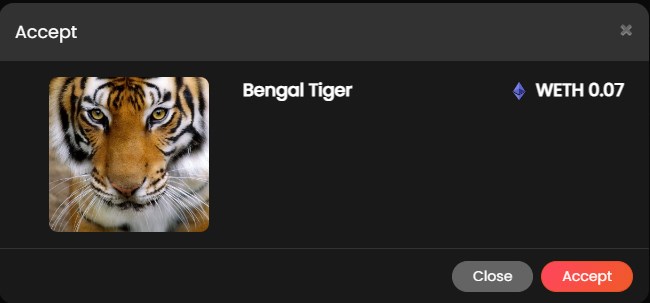
Click Accept available in the Bids section of the View/Buy Token page.

-
Click Accept from the pop up.
-
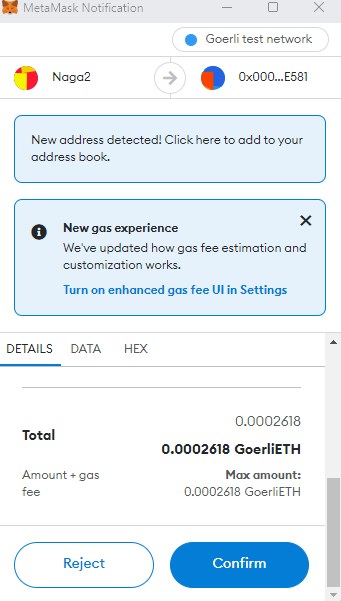
A Metamask Notification pop up is displayed and click Confirm to pay the gas fee for the transaction.
-
The user can view success message once the bid is accepted.

Note
The seller can accept the bid until the bid offer reaches its expiration date and time.
Cancel a bid
The seller must follow the below steps to cancel a bid:
-
Navigate to secondary market of the application.
-
Click View/Buy Token for the NFT that the user wants to cancel a bid.
-
Click Cancel available in the Bids section of the View/Buy Token page.

-
Click Confirm to cancel the bid.

-
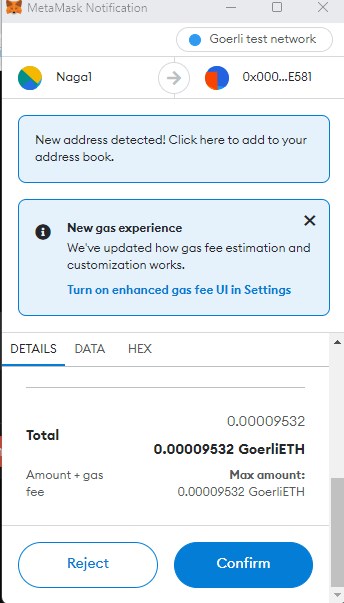
A Metamask Notification pop up is displayed and click Confirm to pay the gas fee for the transaction.
Note
The bidder cannot cancel a bid if the bid offer is expired, or the seller has delisted the token.
Delist/Cancel a token from an auction
The seller must follow the below steps to delist/cancel a token from an auction:
-
Click My NFTs from the menus.
-
Click More and select Delist Token from the list of NFTs that the user would like to delist/cancel the bid.

-
Click Delist to delist the token from the marketplace.

Note
- If required, the user can create an auction for a delisted token.
- If a seller delist/cancel the auction, the seller and the bidder cannot view any details applicable to the delisted auction.