Challenges
The challenges feature lets a user/collector earn NFTs or a pack of NFTs. To claim an NFT as part of challenge, the user must collect or own all the NFTs required to complete the challenge.
Create a Challenge
NOTE
- The user role must be a drop admin to access the My Challenges page of the application.
- The fields that are available in the Create Challenge form are managed through a Create Challenge form from the design console. The admin can drag and drop new fields or edit/remove the existing fields from this form based on the information required for a challenge. For more information refer to the Create Challenge form.
- The admin must create a blockchain (Ethereum/Goerli/Polygon testnet/Polygon mainnet) from the global collections or a blockchain for user created collections in the decentralized collection of the design console.
- The drop admin must mint NFTs by selecting Reward from the Available from purchase through and select the blockchain from the Decentralized Collections. For more information, refer to Mint NFTs.
- Fields with an asterisk (*) symbol are a mandatory field.
The drop admin must follow the below steps to create a challenge:
- Click My Challenges from the menu.
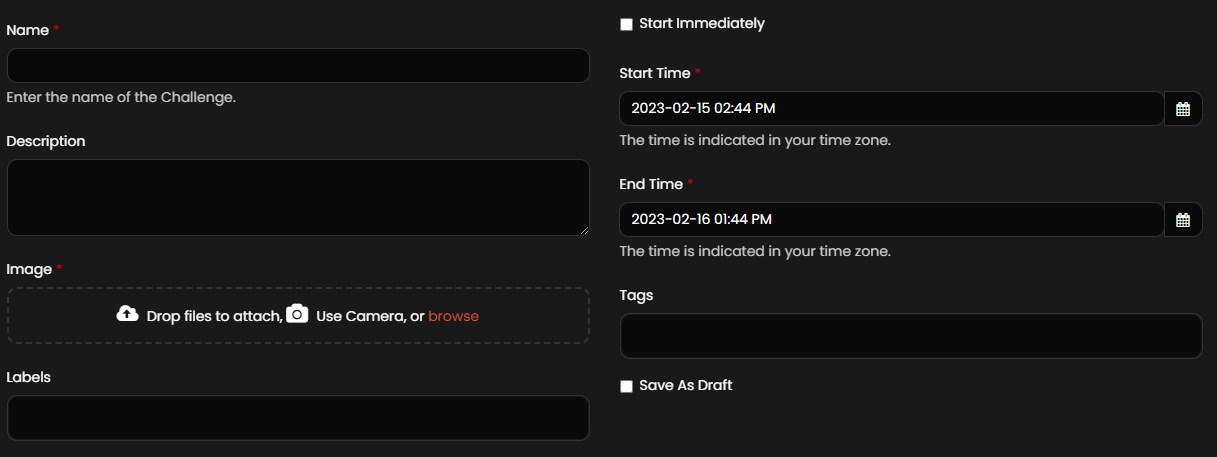
- Click Create Challenge from My Challenges page and provide the information in the following fields.
- Name*: Provide a name for the challenge.
- Description: Provide text in the Description field to describe the challenge.
- Image*: Upload the image of the challenge by the following methods:
- Drop files to attach
- Use camera
- Browse
- Labels: If required, the drop admin can provide text in the Labels text box to display information about the challenge.
- Start Immediately: Select the Start Immediately check box if the NFT must be available immediately for challenge after the creation of the challenge.
- Start Time*: Click the
 symbol or Start Time text box to provide the start date and time for the challenge. It indicates the date and time when the challenge goes live for the public.
 Note
The challenge start time must always be ahead of the current time. The Start Time field is not available if the drop admin selects the Start Immediately check box.
- End Time*: Click the symbol or End Time text box to provide the end date and time for the challenge. It indicates the date and time when the challenge ends for the public.
Note
The challenge end time must always be ahead of the drop start time.
- Tags: If required, the user can provide text in the Tags field to manage the visibility of challenges based on information provided in the tags.
Note
The text in the tags must be unique.
- Save As Draft: Select the Save As Draft check box if the user wants to save the information to the Create Challenge form and publish the challenge in the future.
Note
If the user wants to publish the saved draft, the user must click Publish available from the My Challenges page.
-
Challenge: Click
 symbol and expand Challenge to provide the following details:
-
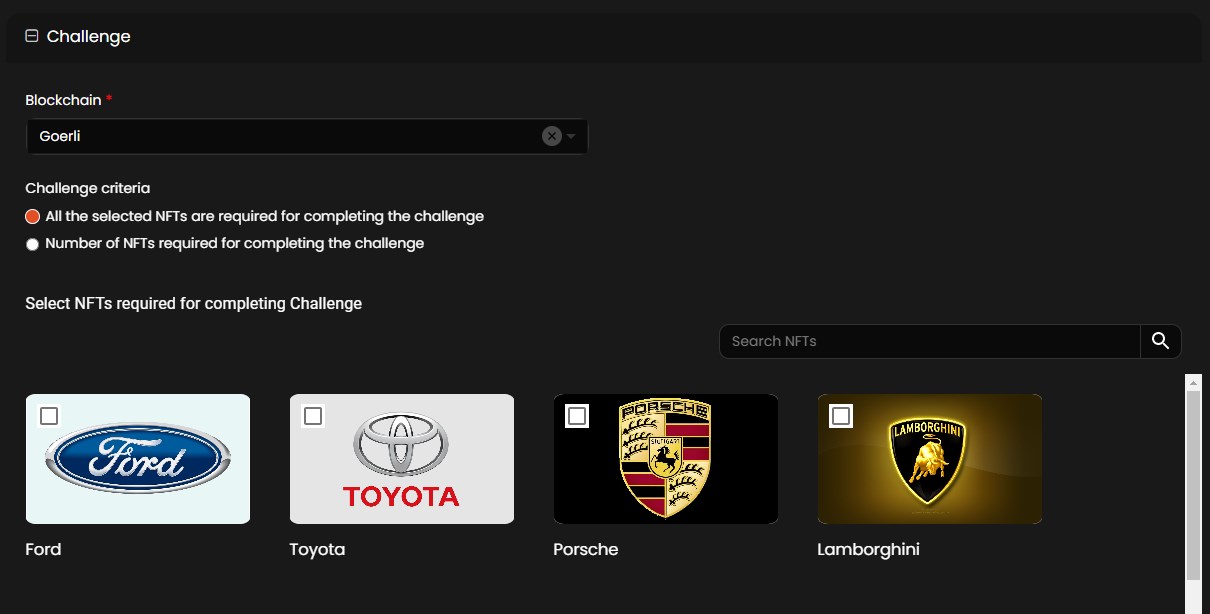
Blockchain*: Select any one of the blockchains available in the dropdown list. Once the blockchain is selected, all the NFTs minted on that blockchain are displayed. The following blockchains are available in the dropdown list.
- Ethereum
- Goerli
- Polygon Mainnet
- Polygon Testnet
-
Challenge criteria: Select any one of the below provided criteria.
- All the selected NFTs are required for completing the challenge: Select one or more NFTs and the user must purchase all the selected NFTs to complete the challenge. For example, if the drop admin selects three NFTs to complete the challenge, the user must purchase all three NFTs to claim the challenge.
- Number of NFTs required for completing the challenge: Provide a numerical value in the Number of NFTs text box and select the NFTs that are required to complete the challenge. The drop admin must ensure that the number of NFTs selected must not be less than the value provided in the Number of NFTs text box. For example, if the drop admin provides a numeric value of two in the Number of NFTs text box and selects four NFTs to complete the challenge, the user can purchase any two NFTs out of the four selected NFTs to claim the challenge.
-
Reward: Click
symbol and expand Reward to provide the following details:-
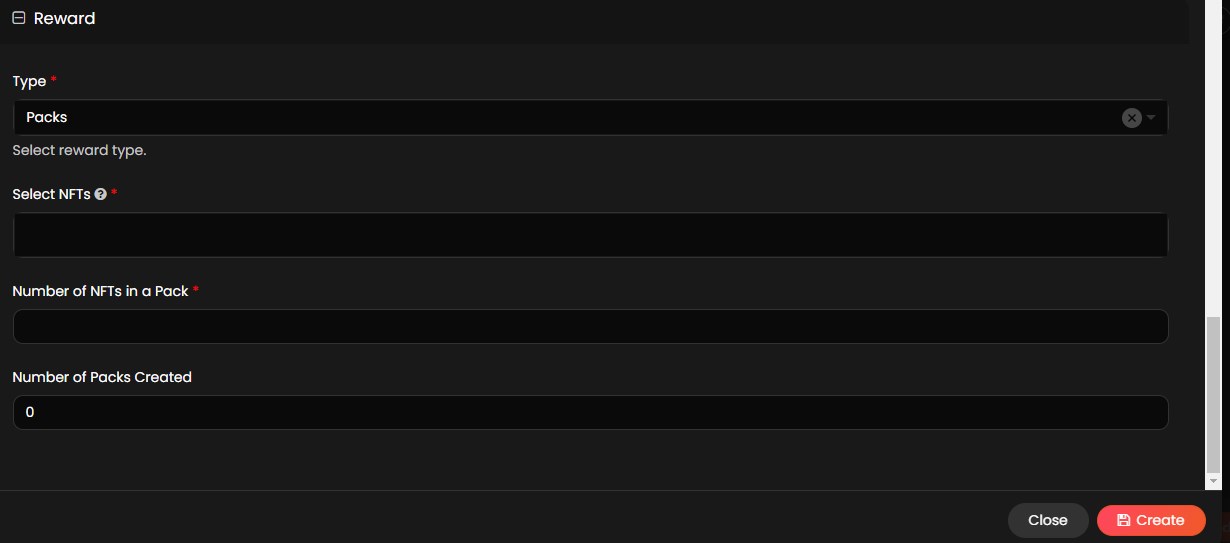
Type*: Select one of the below reward types from the dropdown list.
- Specific NFT: Select Specific NFT to create a challenge with a single/specific NFT.
- Mystery Box: A mystery box contains two or more NFTs of which the user gets a reward randomly from the NFTs available in the mystery box.
- Packs: In packs, two or more NFTs are grouped together, and the user gets a reward as a group of NFTs at once. The packs feature increases the user’s chance of receiving either a variety of NFTs or more editions of the same NFT.
-
Select NFTs*: The information added to this field is dependent on the reward type:
- If the drop admin selects the reward type as Specific NFT, the drop admin must select one NFT having single or multiple editions available from this field.
- If the drop admin selects the reward type as Mystery Box, the drop admin must select two or more NFTs available from this field.
-
If the drop admin selects the reward type as Packs, the drop admin must select two or more NFTs available from this field. These NFTs are randomly allocated within the packs and contain single or multiple editions of each selected NFTs. The below fields are displayed when the drop admin selects Packs as reward type.
- Number of NFTs in a pack: The user must provide a value in the field.
Note
- The number of NFTs in a pack cannot be less than 2.
- The number of tokens in a pack cannot be greater than the total NFT editions.
- Number of Packs Created: This field is automatically filled once the drop admin provides a value in the Number of NFTs in a pack.
-
Token Id (Serial Number) allocation strategy: This field allows the user to claim the challenge in the following ways:
- Random: Based on the number of editions minted for each NFT, the application randomly picks an edition of the NFT and the same can be claimed by user.
- Sequential: The application allows the user to claim challenge in a sequential order.
-
-
- Click Create, to create a challenge.
Manage Challenges
Once a challenge is created, the drop admin can manage the challenge before/after the challenge goes live for the public. The following actions can be managed once a challenge is created.
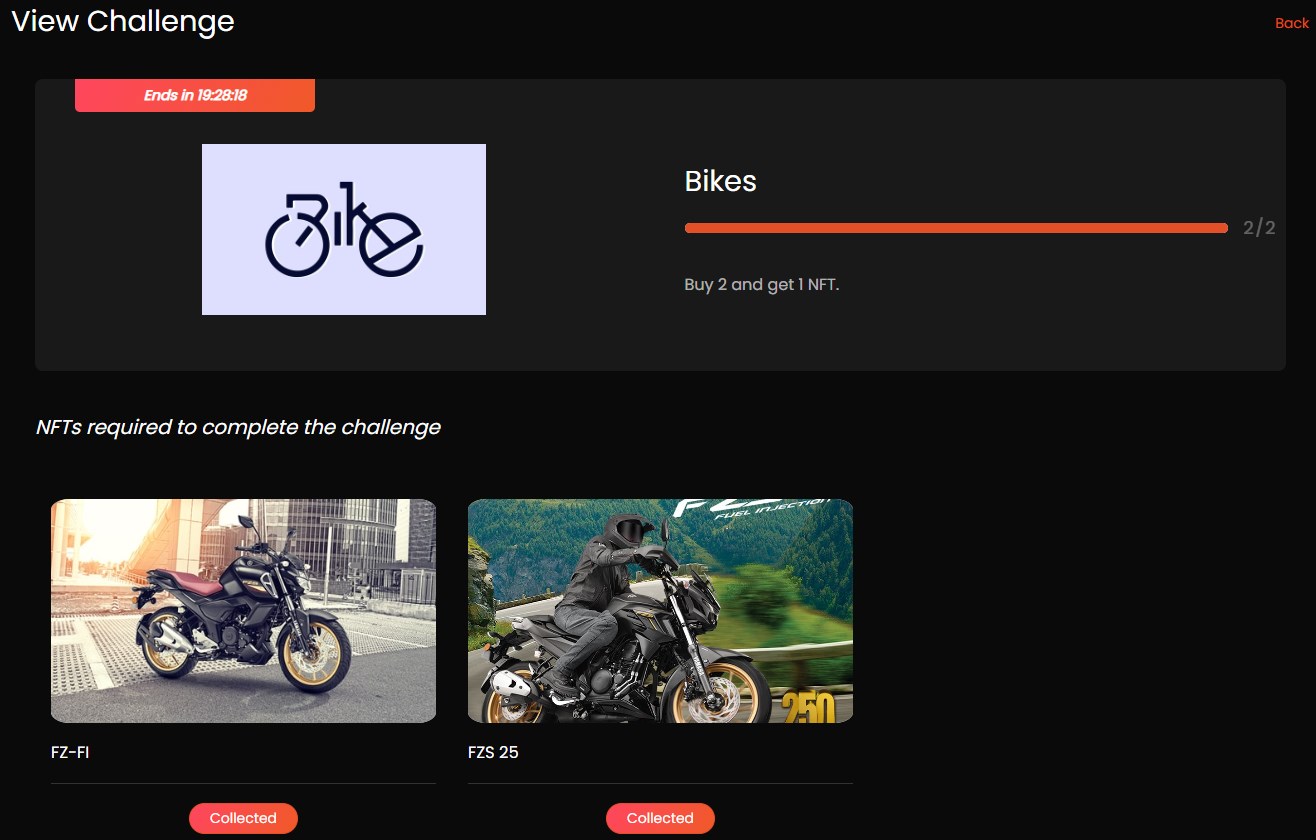
View Challenge
The drop admin must follow the below steps to view the details of the challenge.
- Click My Challenges from the menu.
- Click View Challenge from the created challenge.
The drop admin can view the following details on the View Challenge page:
- End time
- Challenge name and its description
- NFTs required to complete the challenge
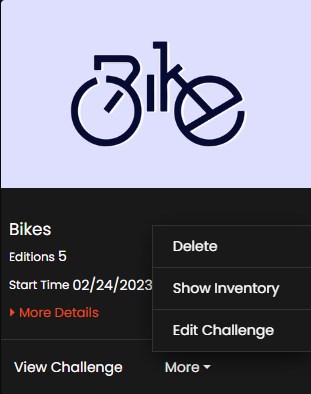
Delete the Challenge
The drop admin must follow the below steps to delete the challenge.
- Click My Challenges from the menu.
-
Click More from the created challenge and click Delete from the available options.
- A pop up Are you sure you want to delete this challenge? is displayed. Click Delete to delete the challenge.

Show Inventory of the Challenge
If required, the drop admin can view the inventory of the challenge using the Show Inventory option. The drop admin must follow the below steps to view the inventory of the challenge.
- Click My Challenges from the menu.
- Click More from the created challenge and click Show Inventory from the available options.
- A pop up with the inventory details is displayed.

- Click
 symbol to expand the list and click
  symbol to refresh the inventory list.
Edit the Challenge
If required, the drop admin can edit the challenge before/after it goes live to the public. The drop admin must follow the below steps to edit the challenge.
- Click My Challenges from the menu.
-
Click More from the created challenge and click Edit Challenge from the available options.
- Modify the required changes to the challenge form. For more information on the fields of challenge form, refer to Create a Challenge
- Click Update to update the challenge.