Promise
The promise feature ensures that the user is benefited with something after the purchase of an NFT. The drop admin can associate anything to an NFT as a promise such as a promo code, print of NFT, and discount coupons etc. The promise can be claimed only once in the entire NFT lifecycle by the present owner of the NFT.
Create a Promise
NOTE
- The user role must be a drop admin to access the Create Promise form of the application.
- The fields that are available in the Create Promise form are managed through a Create Promise form from the design console. The admin can drag and drop new fields or edit/remove existing fields from this form based on the information required for a promise. For more information refer to the Create Promise form.
- If the admin requires any additional information (address/contact) from the user to claim a promise, the admin needs to create a form in the design console. For more information, refer to Create a Promise Form.
- The drop admin must mint an NFT before creating a promise.
- Fields with an asterisk (*) symbol are a mandatory field.
The drop admin must follow the below steps to create a promise on the Promise page.
- Click Promise from the menu.
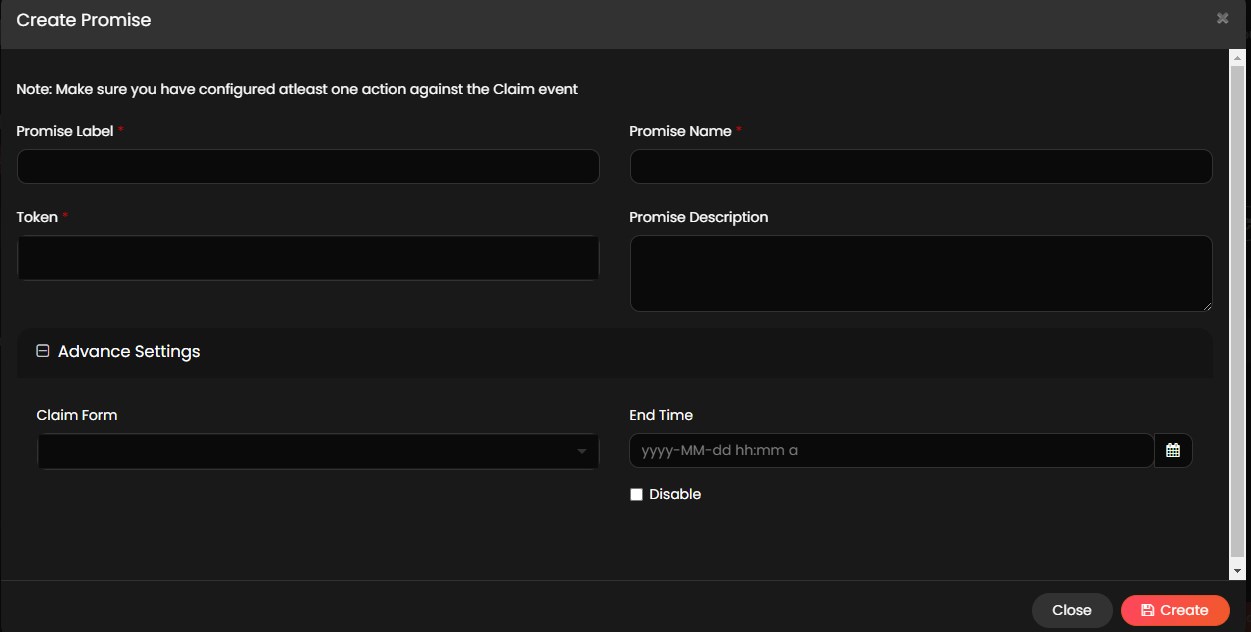
- Click Create Promise from the Promise page and provide the information in the following fields.
- Promise Label*: Provide a suitable label to the promise. The label is displayed when a promise is claimed.
- Promise Name*: Provide a suitable name to the promise that can be stored in the database.
- Token*: Select the NFTs from the dropdown list for which the promise must be created.
NOTE
The admin can select single or multiple NFTs based on the requirement.
- Promise Description: Provide a suitable description to the promise.
-
Advance Settings: Click
 symbol or on the Advance Settings to expand and provide the information in the following fields.
- Claim Form: If required, select the claim form from the dropdown list. This form is used to collect additional information from the user to claim a promise.
NOTE
The admin creates a promise form in the forms section of the design console based on the requirement of promise.
- End Time: Click the
 symbol or End Time text box to provide the claim validity end date and time for the promise.
NOTE
The user cannot claim a promise once their validity has expired.
- Disable: Select the check box to disable the promise to the user. If the drop admin selects this check box, the claim option is not displayed to the user. If the check box is not selected, the promise is enabled to the user.
- Click Create to create a promise.
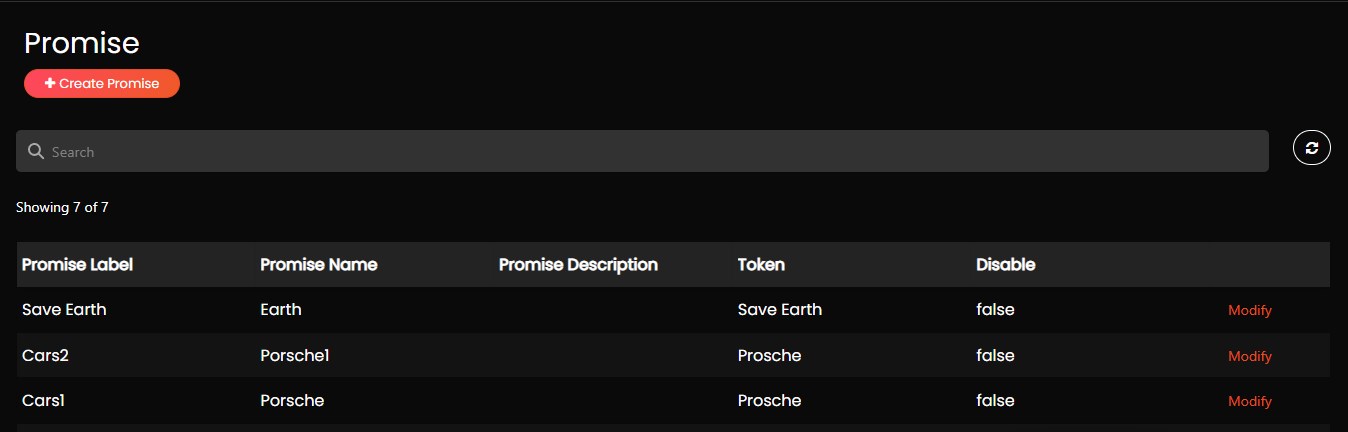
Modify a Promise
The drop admin must follow the below steps to modify a promise:
- Click Promise from the menu.
- If required, enter the Promise Label or Token details in the Search field to search for a promise.
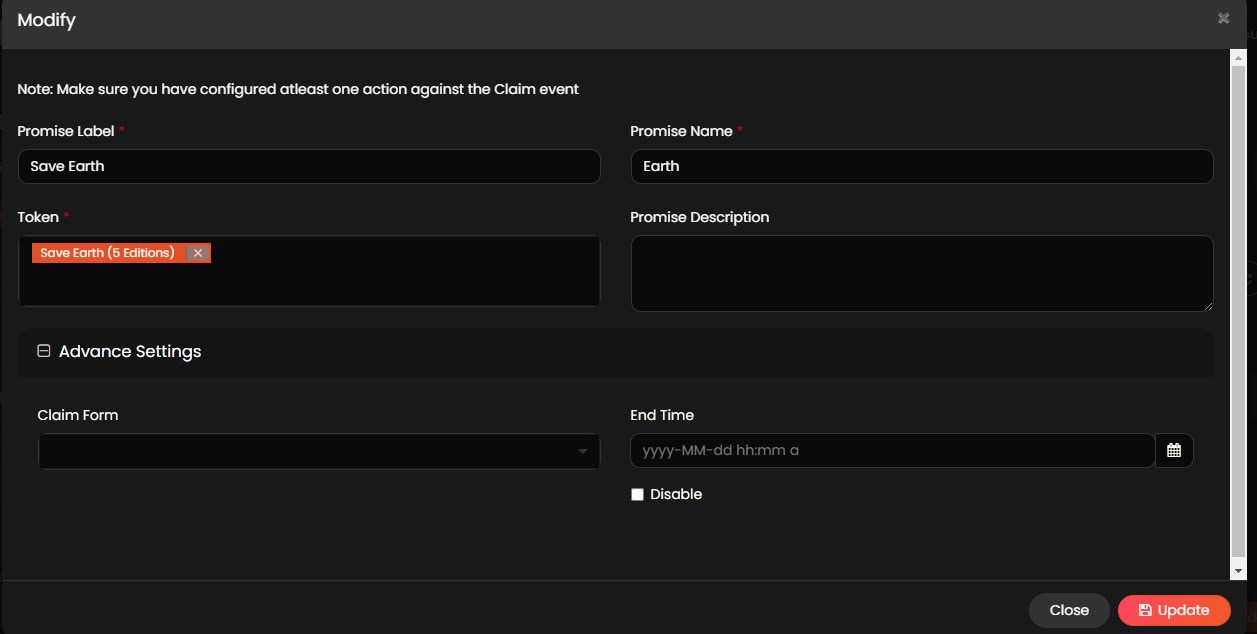
- Click Modify of the applicable promise.
- Modify the required changes to the promise form.
- Click Update to update the details of the promise. For more information on the fields of the promise form, refer to Create a Promise.
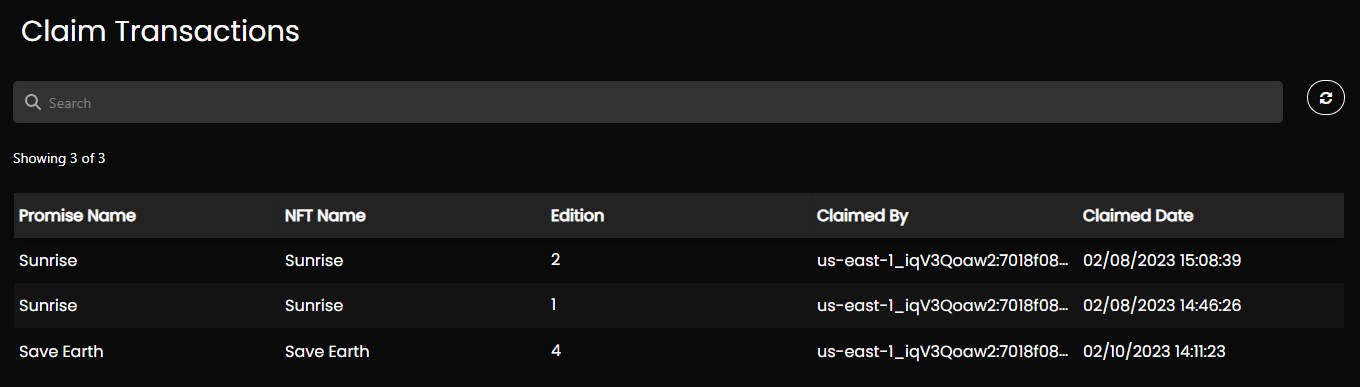
Claim Transactions
The claim transaction page provides details of the claimed promise by the user.
The drop admin must navigate to the Claim Transactions page to view the claimed promise details. If required, enter the Promise Label or Token details in the Search field to search for the transaction of the claimed promise.
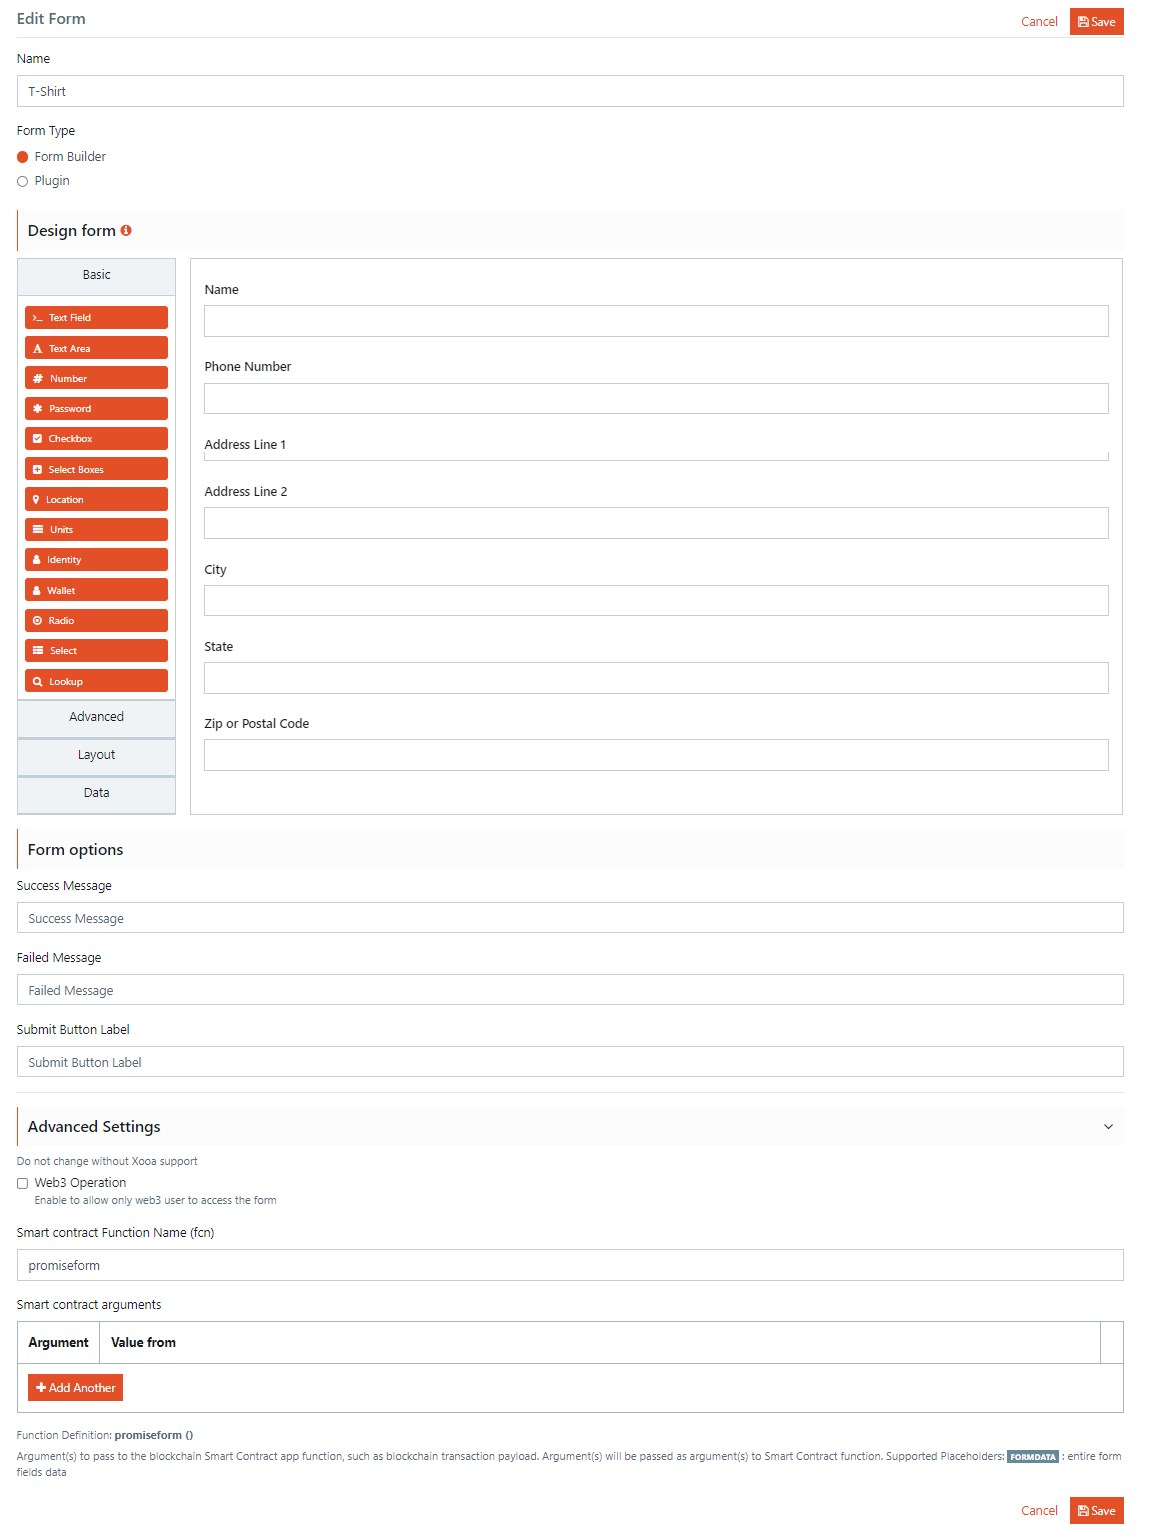
Create a Promise Form
A promise form is used to collect additional details from the user to claim a promise.
For example, if the user is rewarded with a T-shirt, the user needs to provide T-shirt size, contact number, and address details to deliver the T-shirt. The admin creates a promise form with all the required fields to collect T-shirt size, contact number, and address details in the Forms section of the design console.
The admin must follow the below steps to create a promise form:
- Navigate to Forms in the design console.
- Click Add New to create a new form.
- Provide the suitable name in the Name text box.
- Based on the requirement, drag and drop the form components available in the design form.
- Expand the Advance Settings to provide the following details:
- If required. select the Web3 Operation check box to allow only web3 user to access the form.
- Provide a name as promiseform in the Smart contract Function Name (fcn) text box.
- Click Save to save the settings.