Look and Feel
The look refers to how logos, and other elements are laid out on the page. The feel describes the way menus are organized and how functions are selected and performed.
The admin can apply the following settings from the look and feel card of the application:
App Logo
The admin must follow the below steps to upload a logo for the application:
- Click Change Logo.
- Click Browse or Drag & Drop your image to upload a logo.
- Click Save to save the logo image.
- Provide a URL in the Logo URL text box to redirect URL for logo.
If the URL is not provided in the Logo URL text box, then it will automatically redirect to the first page of the application

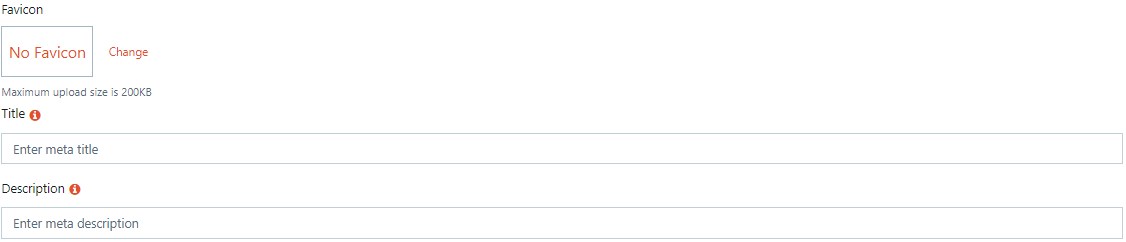
Favicon
The admin must follow the below steps to upload a favicon for the application:
- Click Change.
- Click Browse or Drag & Drop your image to upload the icon image.
- Click Save to save the icon image.
- Provide a favicon title in the Title text box.
The title is displayed along with the favicon on the browser tab.
-
Provide the favicon description in the Description text box.
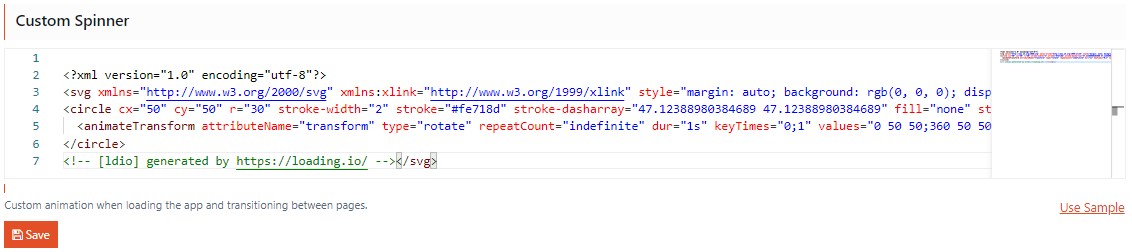
Custom Spinner
Spinners provide a quick way to select one value from a set. The admin must follow the below steps to customize the spinner for the application:
- Provide the code in the Custom Spinner text box to customize a spinner.
- If required, click Use Sample to use a sample spinner.
-
Click Save to save the settings.
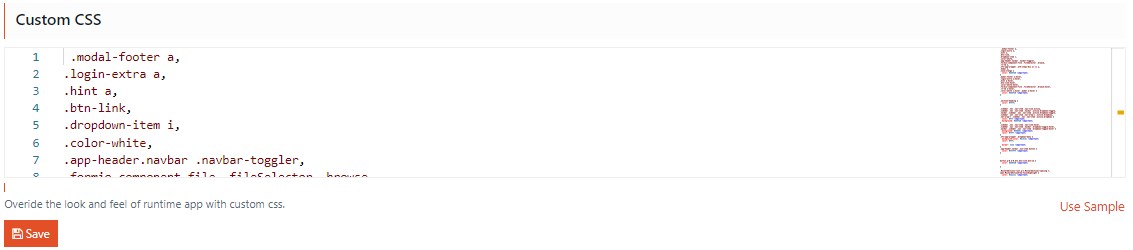
Custom CSS
CSS allows the admin to change the elements of the application’s design. The admin must follow the below steps to customize the CSS of the application:
- Provide the code in the Custom CSS text box to customize the CSS.
- If required, click Use Sample to use a sample CSS.
-
Click Save to save the settings.
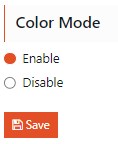
Color Mode
CSS allows the admin to change the elements of the application’s design. The admin must follow the below steps to customize the CSS of the application:
- Select Enable or Disable option button to enable or disable the light and dark theme.
-
Click Save to save the settings.
Localization
The admin must follow the below steps to set the default language of the application:
- Provide the code in the Localization text box to set the default language.
- If required, click Use Sample to use a sample localization.
-
Click Save to save the settings.

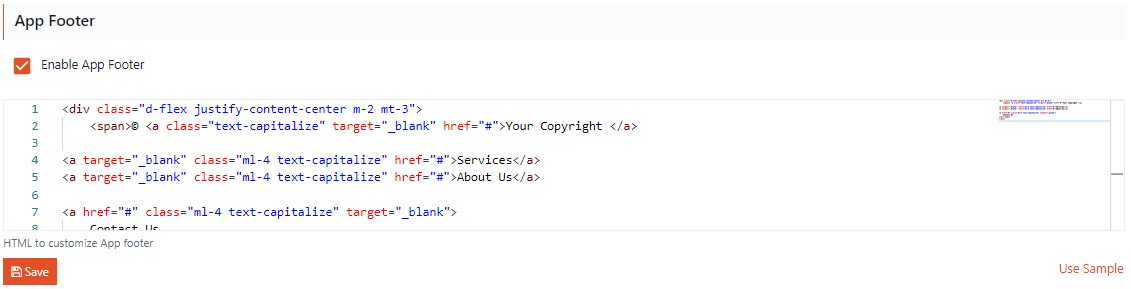
App Footer
A footer provides the user to find certain information or actions. The admin must follow the below steps to configure the footer of the application:
- By default, the application footer is enabled. If required, the admin can uncheck the Enable App Footer check box to disable the footer.
- Provide the code in the App Footer text box to configure the footer.
- If required, click Use Sample to use a sample application footer.
-
Click Save to save the settings.
Feedback
The admin must follow the below steps to configure the feedback if the user encounters any issues with the application:
- Select the Enable Feedback Widget check box to enable the feedback option.
By default, the Enable Feedback Widget check box is selected.
-
If enabled, provide an email id in the Email Feedback To text box.
-
Click Save to save the settings.

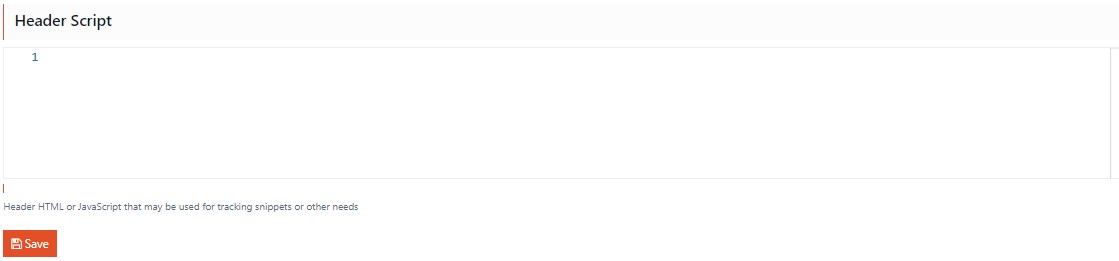
Header Script
The admin must follow the below steps to configure the header script of the application:
- Provide the code in the Header Script text box to configure the header script.
-
Click Save to save the settings.
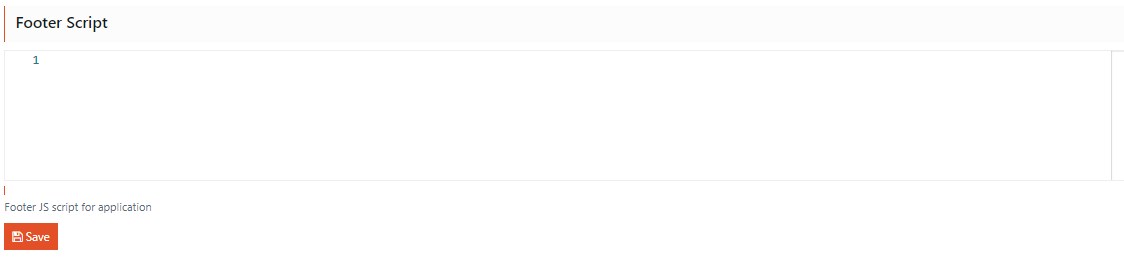
Footer Script
The admin must follow the below steps to configure the footer script of the application:
- Provide the code in the Footer Script text box to configure the footer script.
-
Click Save to save the settings.
Static Assets
Static asset is used to render an image or a video file. Once an asset is uploaded, a CDN URL is generated which can be used in the low code. The admin must follow the below steps to upload the static assets of the application:
- Click Upload.
- Click Browse or Drag & Drop your icon image to upload the asset.
- Click Upload to upload the asset.
-
Copy the CDN URL and use it in the low code.
