Manage Drops
Once the drop admin creates a drop, the drop admin can manage the drops before/after the drop goes live to public. The following actions can be performed once a drop is created.
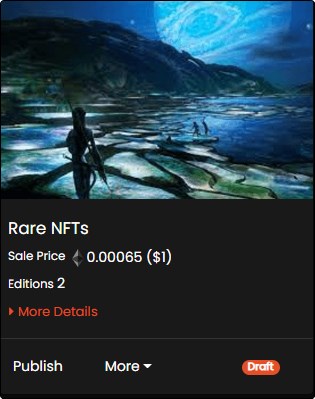
Publish the Drop
The drop admin can publish the drop from the My drops page if it was previously unpublished or saved as draft. The drop admin must follow the below steps to publish the drop.
Publish option is displayed only when the drop admin selects the Save As Draft check box during the creation of drop.
- Click My Drops from the menu.
- Click Publish from the created drops to publish the drop.
-
The drop admin must provide all the required information applicable to the drop. For more information, refer to Drop Details, Royalty, and Early Access.
Note
- During this step, the drop admin is not allowed to change the drop type.
- Save as draft option is not displayed, as the drop is already saved during the creation of drop.
- Click Publish, to publish the drop with the updated changes.
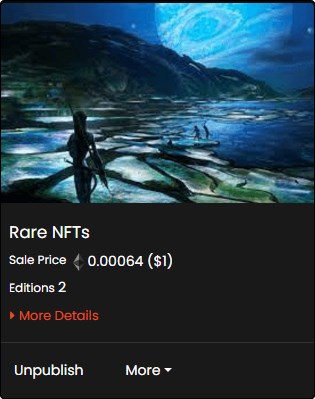
Unpublish the Drop
Drops admin can unpublish a drop from the My Drops page before the drop goes live to public. The drop admin must follow the below steps to unpublish the drop.
Unpublish option is not displayed if the waiting room has started.
- Click My Drops from the menu.
- Click Unpublish from the created drops to unpublish the drop.
-
A pop up Are you sure, you want to unpublish this drop? It will be saved as draft is displayed. Click Unpublish to unpublish the drop.
Note
Once the drop is unpublished, it is saved as a draft. The drop admin can publish the drop whenever required.

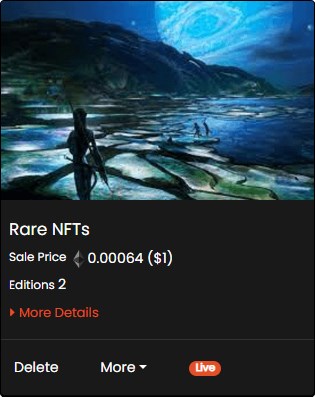
Delete the Drop
The drop admin must follow the below steps to delete the drop.
- Click My Drops from the menu.
-
Click Delete from the created drops to delete the drop.
- A pop up Are you sure you want to delete this drop? is displayed. Click Delete to delete the drop.

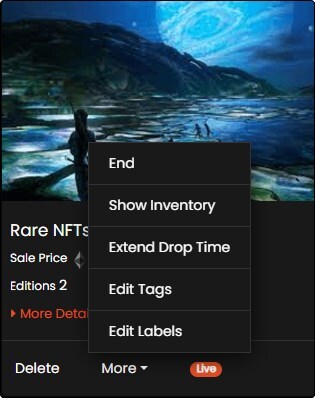
End the Drop
If required, the drops admin can end the drop at any time if the sale is not progressing as expected. The drop admin must follow the below steps to end the drop.
- Click My Drops from the menu.
-
Click More from the created drops and click End from the available options.
- A pop up Are you sure, you want to end this drop? is displayed. Click End to end the drop.

Show Inventory of the Drop
If required, the drop admin can view the inventory of the NFTs using the Show Inventory option. The drop admin must follow the below steps to view the inventory of the drop.
- Click My Drops from the menu.
-
Click More from the created drops and click Show Inventory from the available options.
-
A pop up with the inventory details are displayed.

- Click
 symbol to expand the list and click
  symbol to refresh the list.
Extend Drop Time of the Drop
NOTE
The drop time can be extended for both live and sold-out drops.
If required, the drop admin can extend the drop time as per the requirement. The drop admin must follow the below steps to extend the drop time of the drop.
- Click My Drops from the menu.
-
Click More from the created drops and click Extend Drop Time from the available options.
-
Click
 symbol or Drop End Time text box to edit the date and time of the drop.
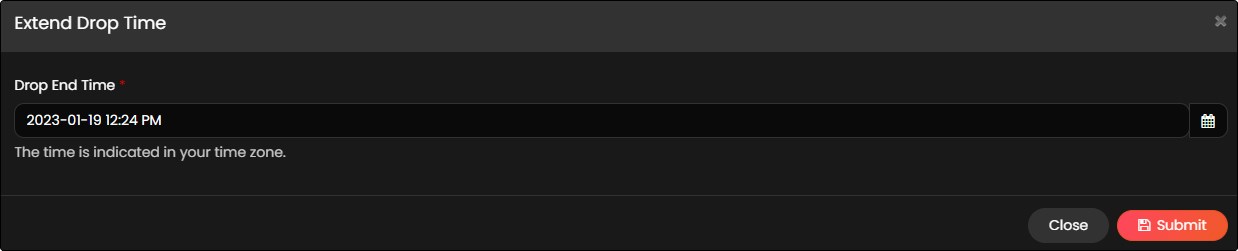
- Click Submit to save the updated drop time.
Edit Tags of the Drop
If required, the drop admin can edit the tags of the drop. The drop admin must follow the below steps to edit the tags of the drop.
- Click My Drops from the menu.
-
Click More from the created drops and click Edit Tags from the available options.
-
Add the required text to the Tags field.

- Click Submit to update the tags to the drop.
Edit Labels of the Drop
If required, the drop admin can edit the labels of the drop. The drop admin must follow the below steps to edit the labels of the drop.
- Click My Drops from the menu.
-
Click More from the created drops and click Edit Labels from the available options.
-
Add the required text to the Labels field.

- Click Submit to update the labels to the drop.
Hide the Drop
If required, the drop admin can hide the drop. The drop admin uses tags and expiration date to hide the drop.
The drop admin must follow the below steps to hide a drop with tags.
- From the design console, navigate to Editor > Pages > Drops.
- Click Design from the Drop.
-
Click
 symbol available in the Plugins from the Edit Page of the drop.
- Add the necessary tag details in the Exclude drops with tags field available in the Plugin Settings of the Modify Plugin popup.
- Click Update, to update the tags information to the Plugins.
- Click Save, to save the information to the Drops page.
- Open the application and navigate to the Drops page. The drops with the tags added to the Plugin are hidden.
The drop admin must follow the below steps to hide a drop with an expiration date:
- From the design console, navigate to Editor > Pages > Drops.
- Click Design from the Drop.
-
Click
symbol available in the Plugins from the Edit Page of the drop.- Add the necessary value in the Exclude drops whose expiration has reached following (Days) field available in the Plugin Settings of the Modify Plugin popup
- Click Update, to update the tags information to the Plugins.
- Click Save, to save the information to the Drops page.
- The drops whose expiration date has been reached are hidden.