Advanced
The Drop Admins have exclusive rights to customize the drops using the various advanced features. The following sections will give you step-by-step details of how best to utilize these features on the app.
How to customize Drop settings in the Design Console
App admin can customize the Drops feature by setting the values for each of the operations in the design console -> Publish -> Drops
By default, Xooa’s configurations are applied if the app admins do not have their own Queue-it account. If the app admins have their own Queue-it account, then they can find those details from the Queue-it console to use them in the following fields in Xooa’s design console under the Drop settings:
Queue-it Outflow: This is the maximum number of redirects allowed per minute. However, this value can be changed for any waiting room from the Queue-it console. Login to Queue-it console -> Monitoring -> Monitor -> change the “Max Outflow” and click Update.
PreQueue Time (in minutes): This is time in minutes before the start of the event. For example, pre queue time is 30, then the waiting room starts 30 minutes before the drop begins.
Waiting Room Layout: Provide the name of the theme created in the Queue-it. This will set Layout for Queue-it waiting room. To create a new theme, login to Queue-it console -> Manage -> Custom Themes -> Add new theme.
Drop Time Zone: This will set the time zone visible to users in the Queue-it waiting room.
Issued By: This is a text field whose value will appear on the Join Drop page.
Drop Notification Email: In addition to drop admin, you can add other users and send email notifications regarding the drop activities.
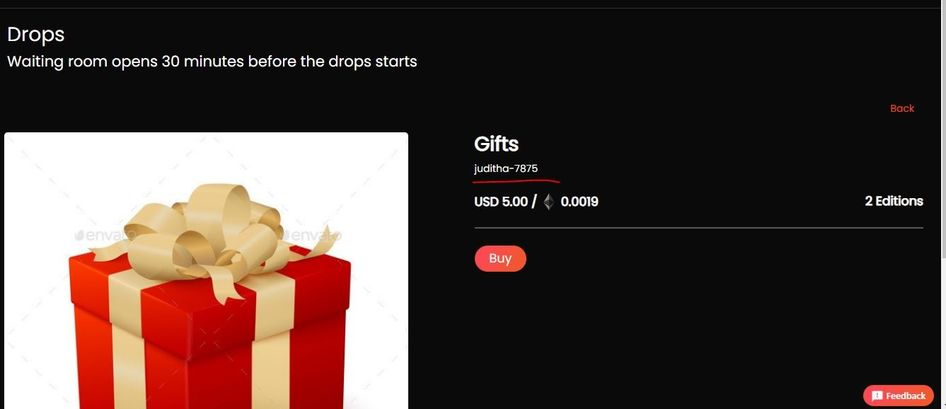
Drop Card Customization
A drop admin can customize the drop card and change the look and feel of the drop card using the NFT Drop plugin. Drop admins can change the labels and metadata as required.
-
Go to the design console of the platform minted marketplace
-
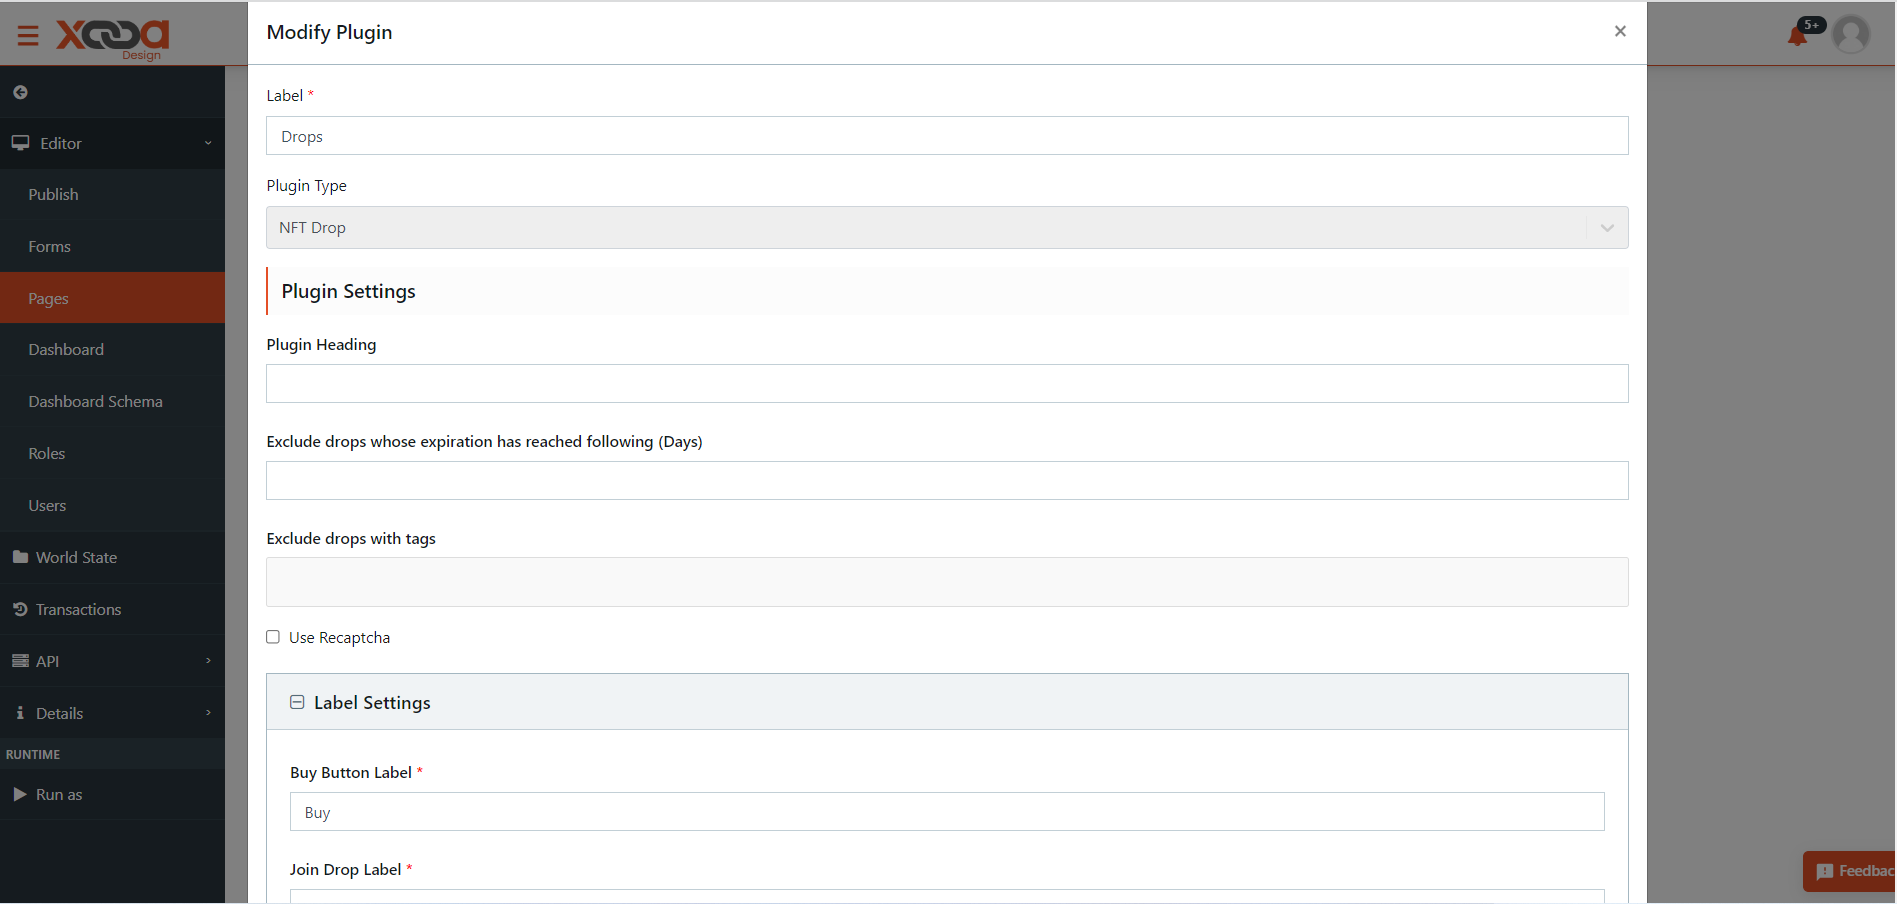
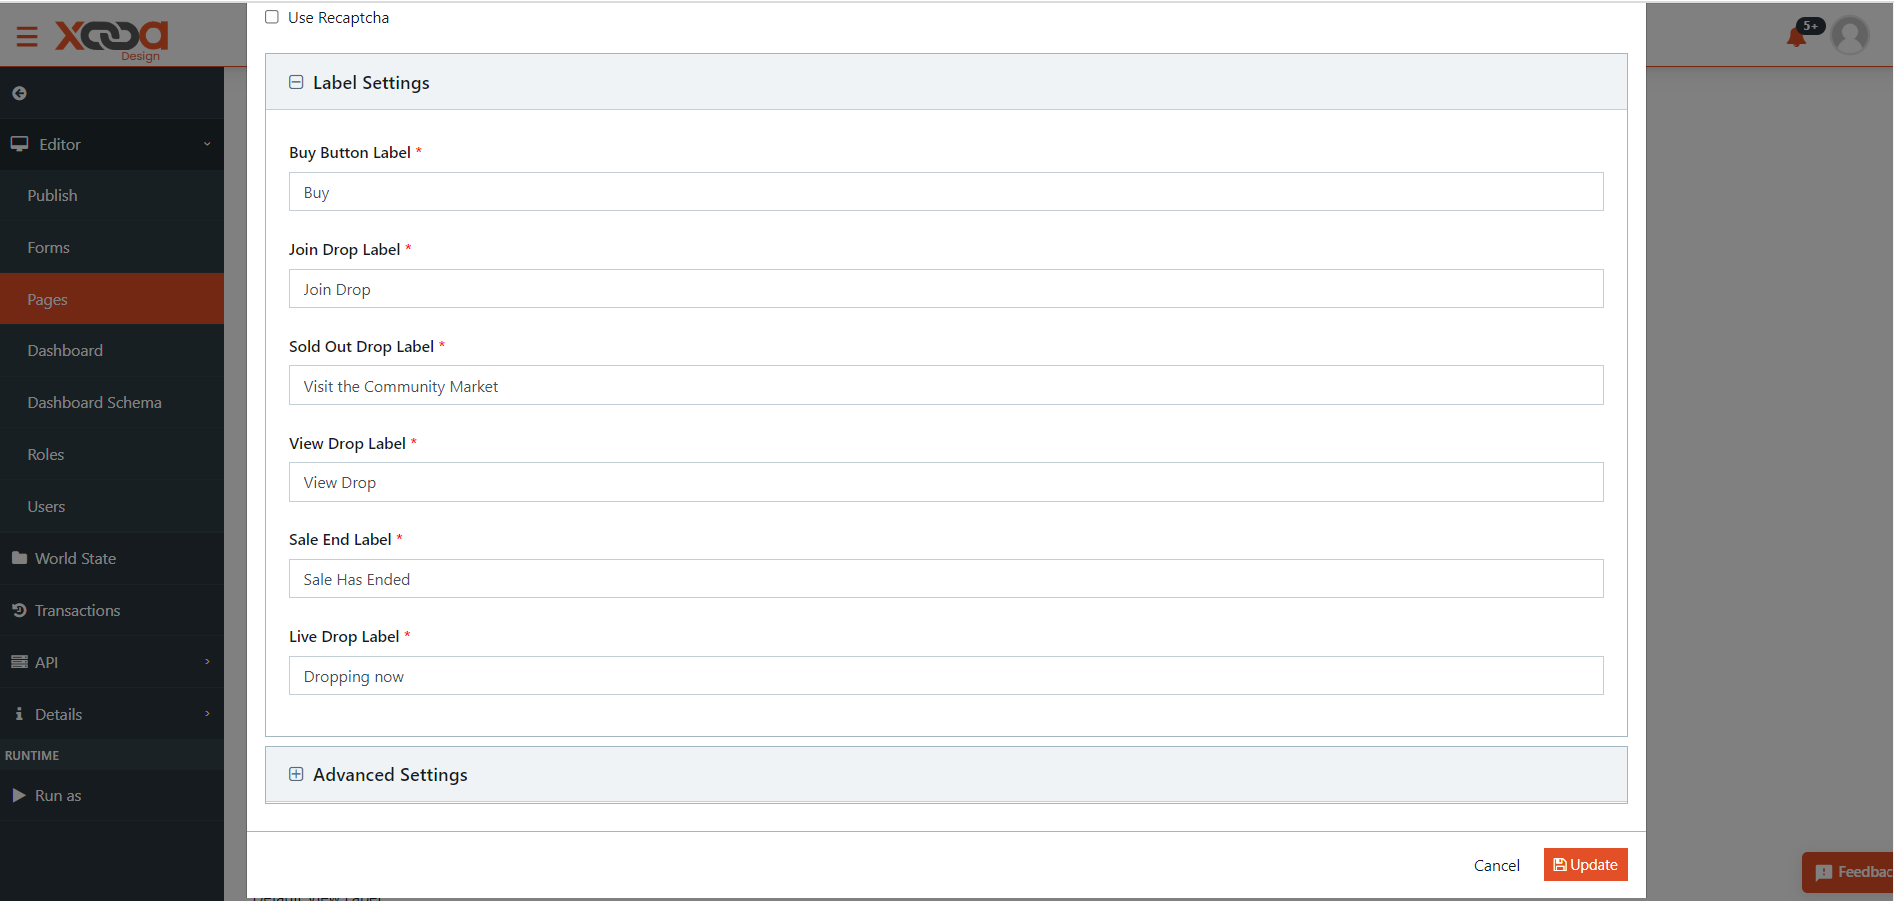
Go to Pages -> Drops -> click the edit button on NFT Drop plugin. In the Modify Plugin popup page, click Label settings to exapnd the section. The plugin settings for labels such as “Join Drop”,”View Drop”, “Sale End”, “Live Drop” will be exposed
-
Change the labels as required
-
Add/delete parameters, as required, in the HTML component field
-
Add/delete parameters, as required, in the CSS component field
-
Click Update to save the changes
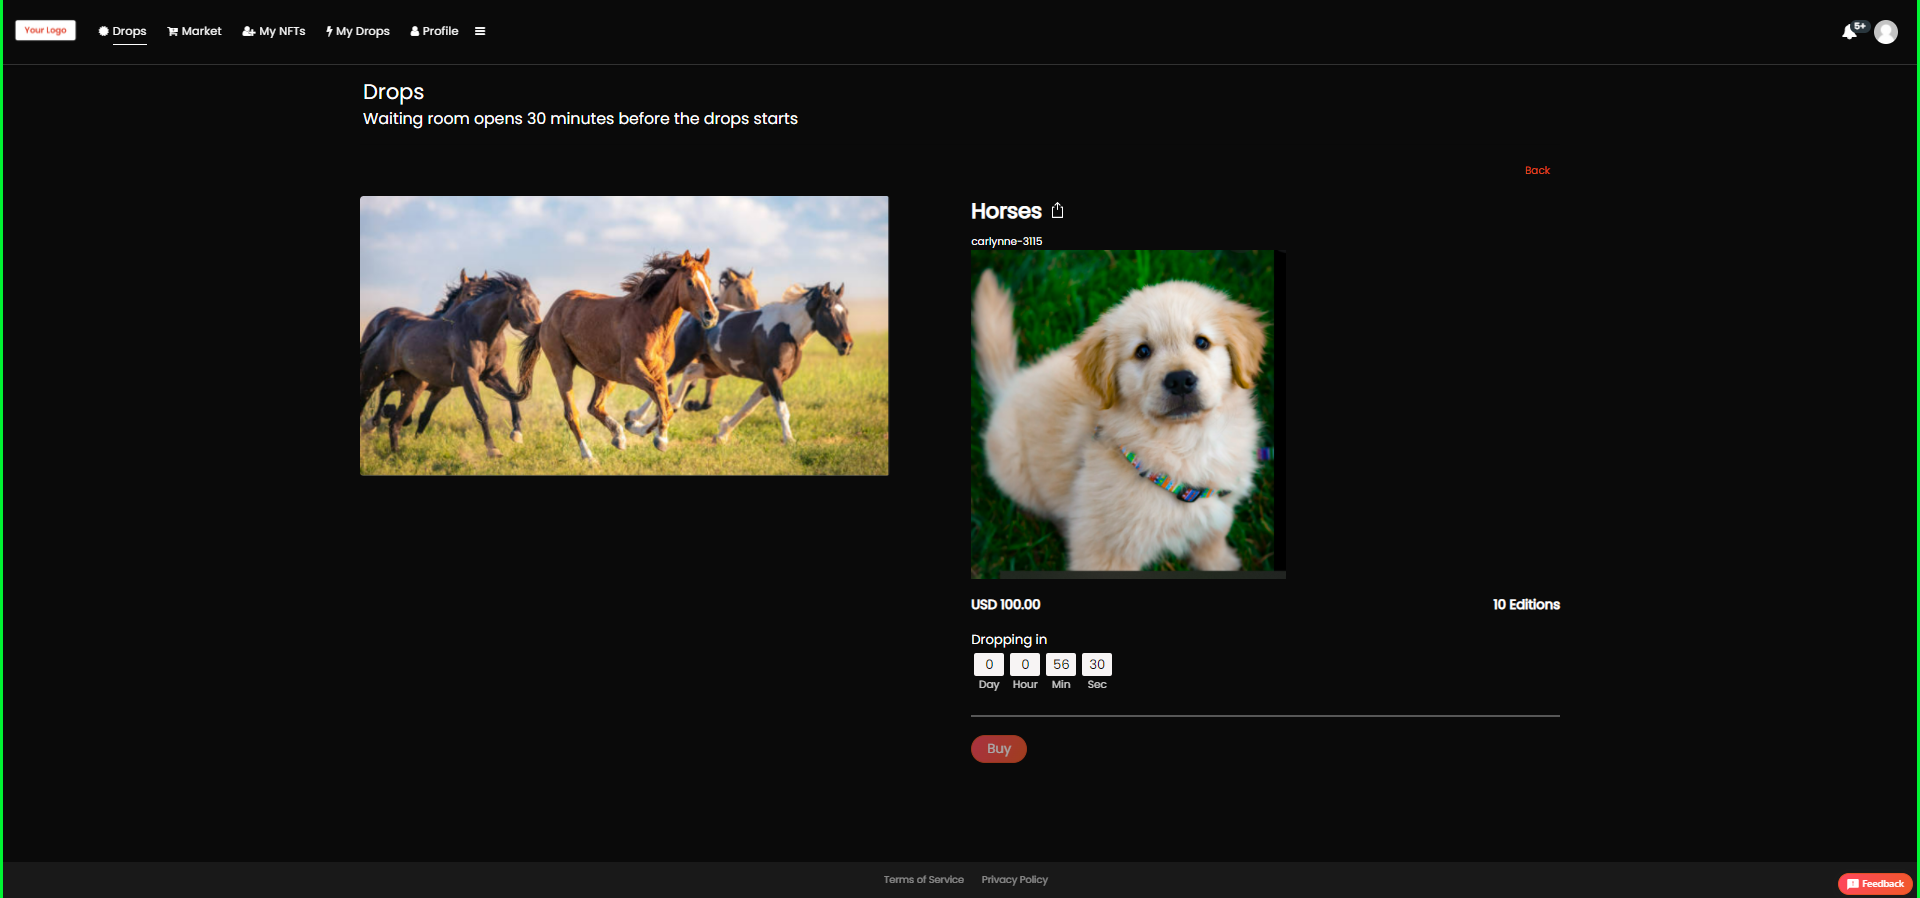
View/Join Drop page Customization
A drop admin can customize the Join/view drop pages, add text fields and different media type fields such as, Audio, video, voice etc., to suit business requirements. Drop admins, by default, have low code access to change the labels and metadata as required.
To add text field(s):
-
On the design console of a platform minted marketplace, go to Forms -> Create Drop
-
In the design form, drag and drop “Text field” option
-
In the text field component popup page, in the Display tab, enter <desired name> to the field
-
In the API tab, set the property name in the format “properties.<desired name>”
-
Click Save
Note
This value will be used in the join drop plugin in the html code.
To add media file(s):
-
Go to Forms -> Create Drop -> Form Builder -> drag and drop File component from the Data tab
-
In the File component popup page, enter desired <media field name>
-
In the API tab, enter property name in the format “properties.<desired name>”
-
Click Save
-
Click Save on the edit form
-
Login to the app as Drop Admin -> go to My Drops
-
Click Create Drop. The newly added media field will be displayed
-
Go to Pages -> Drops -> click to edit the NFT Drop plugin
-
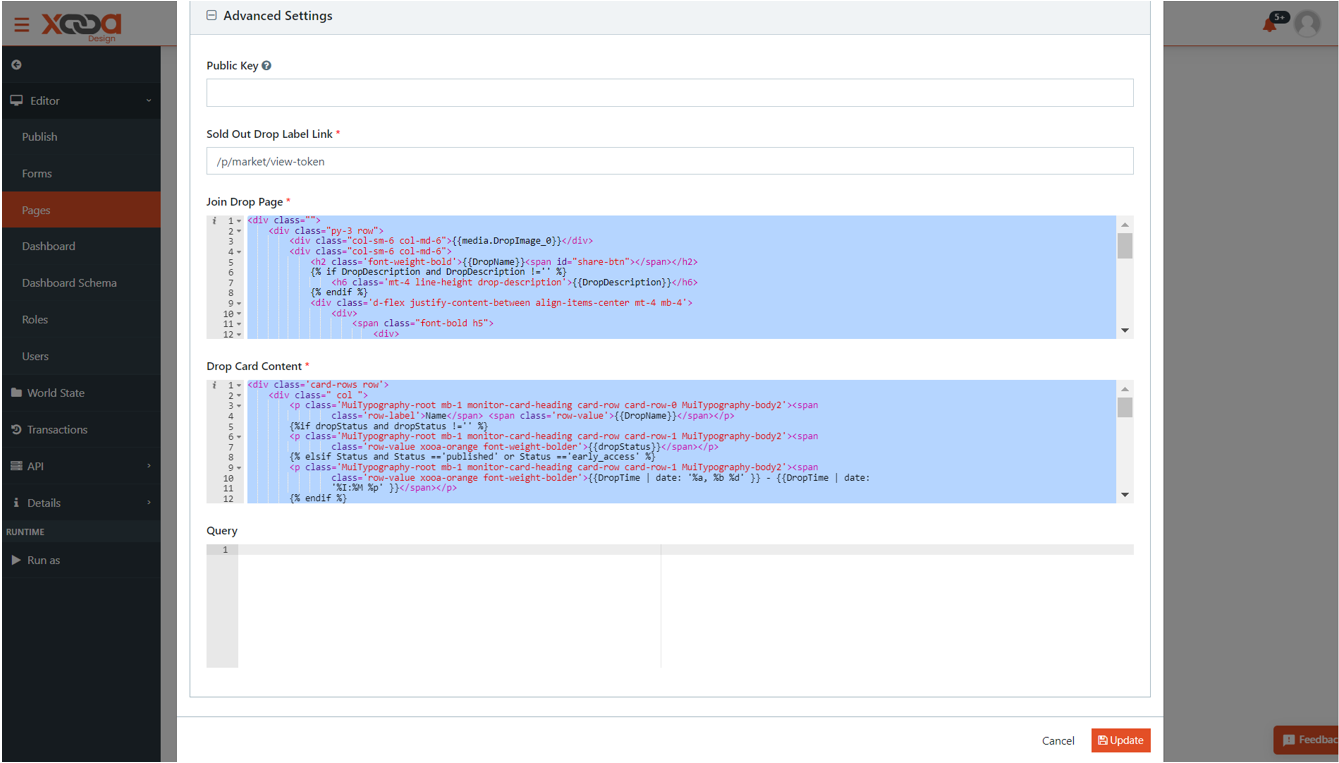
Click to expand Advanced Settings -> add the code snippet in Join Drop page html field Example:
{% if properties_dropImage2 %}
 <div>
 {{media.properties_dropImage2_0}}
 </div>
{% endif %}
Note
The values are case sensitive. Ensure to add the API values and conditions both in the public key field and in the XML data field.
- Click Update
- Click Save on the Edit page
- On the runtime console, refresh the page to view the newly added media field configured in low code
- To adjust the media file size in the Join/view drop page, go to Pages -> Drops -> in the Page CSS field, enter the following code and save:
.properties_dropImage2_0 {width: 50%;}
To add user details using plublic key(s):
-
Go to Forms -> Create Drop
-
Drag and drop Text Field component
-
Enter desired <field name>
-
In the API tab, enter the format “properties.<desired field name>” -> Save
-
Save the changes in the Edit form
-
Go to Pages -> Drops -> edit the NFT Drop plugin
-
Click to expand Advanced Settings
-
Update the Public Key field with the API key provided in step no.4 above (properties.desiredfieldname). Use commas to add multiple keys
-
Add the values in html in the Join Drop page field:
Sample code and image for rendering value
{% if properties_desiredfieldname %}
  {{nftUser[properties_desiredfieldname].value}}
{% endif %}
Sample code and image for rendreing Nickname
{% if properties_desiredfieldname %}
  {{nftUser[properties_desiredfieldname].Nickname}}
{% endif %}
Sample code and image for rendering Email
{% if properties_desiredfieldname %}
  {{nftUser[properties_desiredfieldname].Email}}
{% endif %}

Sample code and image for rendering media file on drop card
{% if properties_imagename %}
  \<div\>
    {{media.properties_imagename_0}}
  \</div\>
{% endif %}
-
Click Update -> Save changes in the Edit page
-
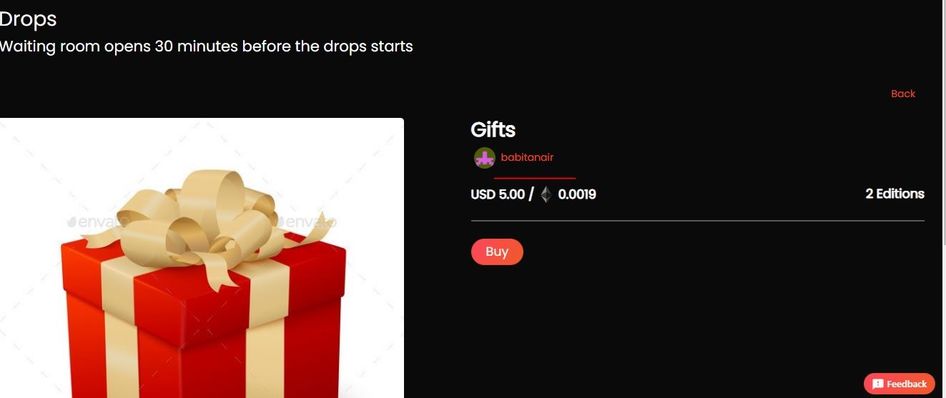
Login as Drop Admin -> go to the Drops page. The newly added user details will be displayed on the Drop card.
Note
The create drop field must have valid public ids (wallet address seen on the profile page).